Monday, October 15, 2012

Pepperoncini Beef Sandwiches


I found this recipe over at Crockpot365, and Stephanie really nailed it with this one. Oh.my.goodness.

If you are looking for a seriously flavorful and ridiculously easy entree to bring to a tailgate, pot luck, or just to eat with your family, look no further!

This recipe is one of my favorites for both of those reasons. It is bursting with flavor and requires all of 2 ingredients. YES! It really doesn't get much easier.

It is a great OAMC candidate because it's so simple. One of those that you toss into the bag and forget about until you decide to cook it. 

And when you DO choose to make it, be prepared for some tantalizing, aromatic smells coming from your crockpot. If you're like me, it will take a considerable amount of self-control to wait the full 8 hours to dig in to this one. :)


Pepperoncini Beef Sandwiches

Ingredients:
2-2.5 lb chuck roast
1 (12-16 oz.) jar banana pepper or pepperoncini rings

For Today:
1. Trim fat off of roast. Place roast in crockpot. Pour contents of jar over the roast. Cook on low 8 hours. (You probably could cook it on high for about half the time, but for tender, juicy, fall-apart meat, slow and low is the winning combination)
2. Shred meat with two forks. Serve over crusty Italian bread, top with your choice of white cheese (mozzarella, provolone, swiss, pepper jack, whatever you like!... but only if you want to...)
*I like to pour a little of the flavorful juice over the meat too. Some people don't like soggy sandwiches and I totally get that, but if you want extra flavor, give it a try!
**Also, to melt the cheese and make the bread extra crispy, you can broil it in the oven  for a minute or two. 
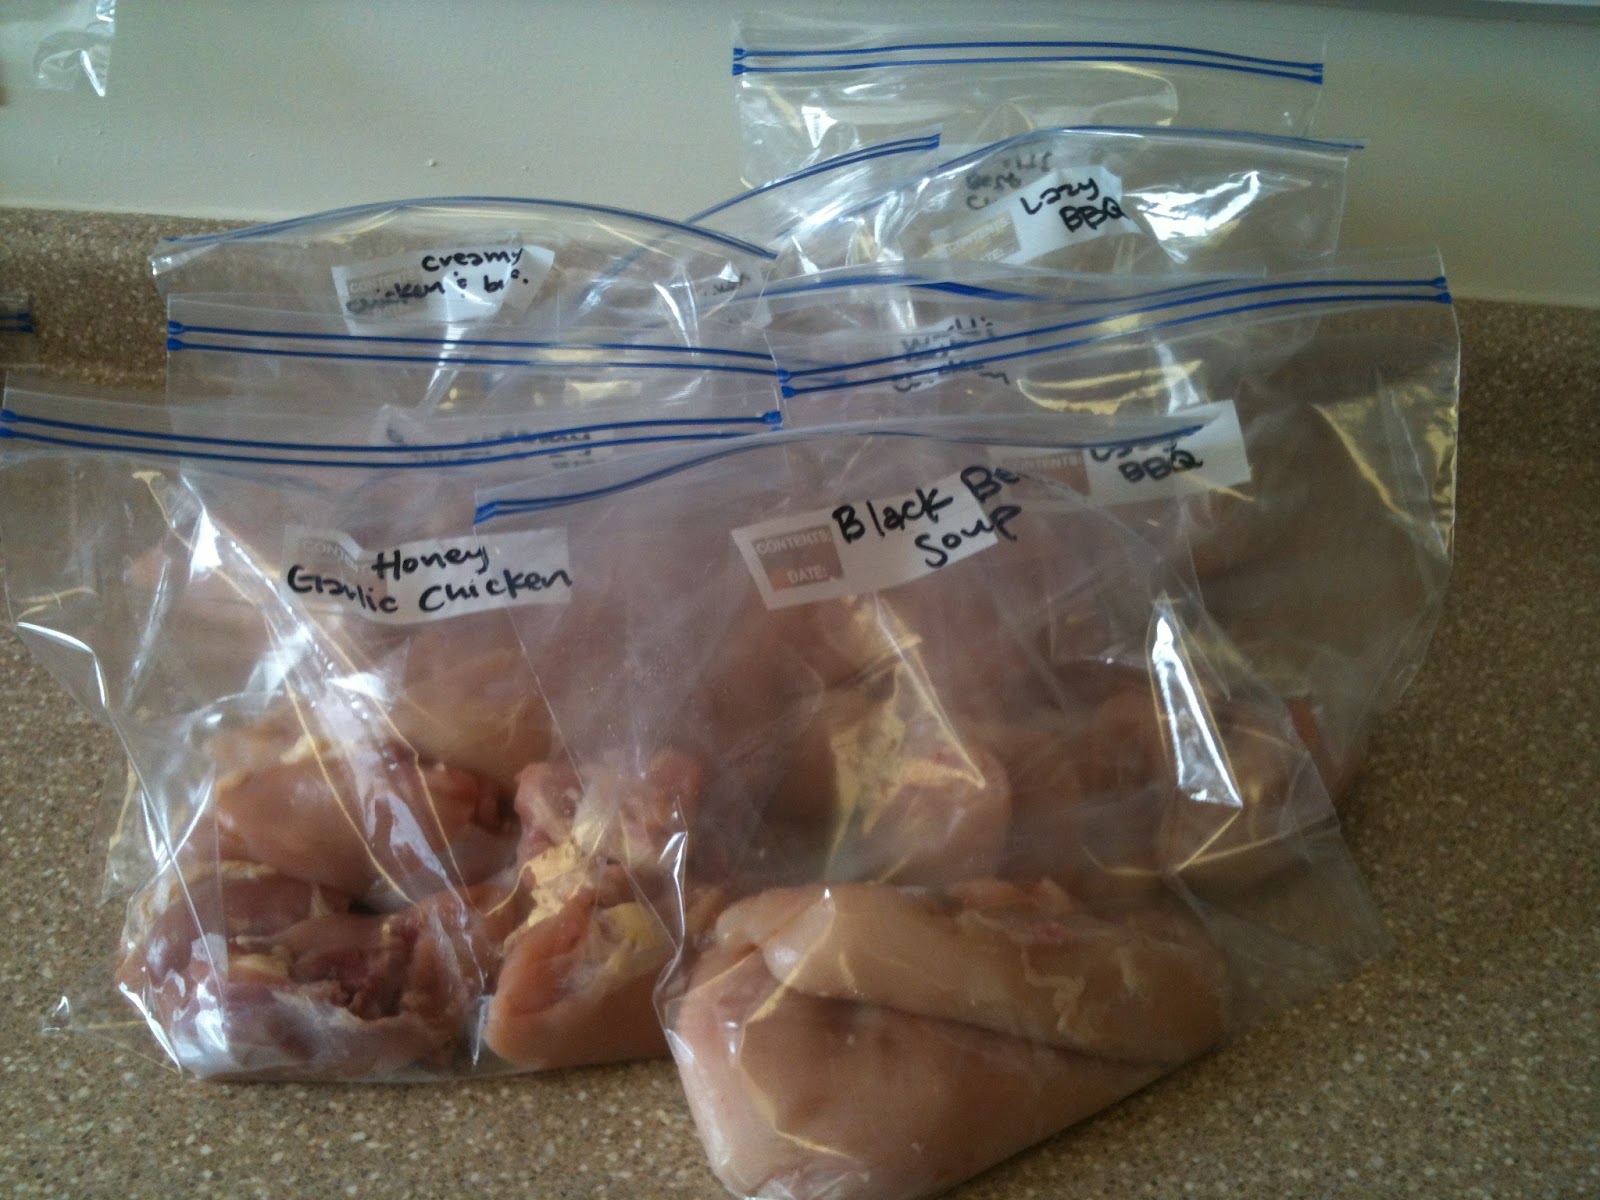
For the Freezer:
1. Trim fat off of roast and place in gallon-size freezer bag. Pour contents of jar over roast, seal bag and place in freezer.
2. Place frozen contents of bag in crockpot. Cook on low 8-10 hours. Shred with 2 forks and serve as called for above.

So easy and SO good! I love it! It may be that I've been on a banana pepper kick lately, but still... Try it, it'll be worth it!

Thursday, October 11, 2012

Cheesy Chicken and Rotini


Cheesy Chicken and Rotini Casserole
Soo... this picture is courtesy of BettyCrocker.com. If you haven't noticed yet, I'm not super great with a camera. I'm hoping I'll get better... we'll see. :)

If you feel the need to break up the OAMC rotation with some non-crockpot meals, this little recipe  just might come in handy. It comes together quickly with a frozen mix of veggies and precooked chicken. This casserole is nice and light, the perfect Summertime pasta dish... I realize Summer is officially over, I'm just trying to appropriately convey the level of richness of this meal. :) So yes, it is a pasta, but it's not one of those where you feel like you might need to loosen your belt after eating it.

The flavor is fresh! Especially with those delicious Roma tomato wedges on top.

Quick, light and fresh - I know I'm not the only person who finds those qualities attractive! 

Here goes:

Cheesy Chicken and Rotini

Ingredients:
8 oz cooked rotini pasta
2 cups cooked chicken
1 cup frozen onions, celery, bell pepper and parsley seasoning blend. (I have a hard time finding this sometimes. The brand is Pictsweet, but not everybody carries it... so you may substitute it with another veggie/seasoning blend. I think I've tried it with a gumbo mix and it worked out pretty well!)
1 can cream of chicken soup
1 cup chicken broth
2 Roma tomatoes cut into 6 wedges each
3 green onions, sliced
1/2 cup cheddar cheese

For Today:
1. Preheat oven to 350. Combine first 5 ingredients in 8x8 baking dish. Bake uncovered for 35-40 minutes or until bubbly.
2. Remove from oven, top with tomatoes, onions and cheese and return to oven for a few minutes, just until the cheese is melty.

For the Freezer:
1. Combine first 5 ingredients in 8x8 foil pan. Cover with a double layer of tinfoil and place in freezer.
*As for the remaining ingredients, usually I'll put the cheese in a small bag and duct tape it to the top of the pan, just so I know I have it on hand when I decide to make this dish. However, I've never tried freezing the green onions or tomatoes, so I can't recommend it. You may just need to have a note on your recipe list to have those items handy when you want to use this particular freezer meal. It may seem like a hassle, but the tomatoes really make this dish...
2. Allow the casserole to thaw in your fridge overnight, or on the counter for a few hours. The cooking time and temperature should be the same as above - 350 degrees for 35-40 minutes, then add the tomatoes, onions and cheese and return to the oven for a few more minutes.

I like to serve it with my go-to Italian bread recipe... YUM!

Wednesday, October 10, 2012

October Cook

I really enjoy cooking with friends, so we've got a pretty good little group going... BUT... we all go through our meals at different rates. 16 meals lasts my family about a month, but it tends to last my cooking buddies 2 months. So we cook as a group every other month and I do a little cook on my own in between.

With company coming to town right as my freezer meals ran out, I didn't have much time to put into planning for my individual cook, so I reverted to a lot of family favorites and just doubled up on several of them. They almost all ended up being crockpot meals, which stinks when it comes to washing your crockpot every other day, but really awesome in regards to the cooking day - you really just throw everything into their bags and then you're finished!

So here's my list of recipes:

Cheesy Potato Soup
Salsa, Chicken and Black Bean Soup
Red Beans and Rice (2)
Chicken Chili
Creamy Chicken and Broccoli (2)
Pepperoncini Beef Sandwiches
Crockpot Ravioli Casserole (2)
Lazy BBQ Chicken (2)
BBQ Pulled Pork
Honey Garlic Chicken
World's Best Chicken (2)


If you can't tell, I'm pretty excited about the change of seasons and the addition of soups and chili to my recipe list! Yay for Fall!

So, with not a lot of time to prepare myself for this cook, I literally threw together my recipe and ingredient lists within an hour and headed out to the grocery store with my 6-month-old in tow. I wouldn't normally recommend doing that, but it really wasn't so bad.

Also being rushed to do my monthly cooking, I hadn't put a day aside to do it all, so I broke it up a little bit. I planned and shopped on Tuesday afternoon/evening. Wednesday morning, with the 2 year old eating his cereal in the high chair, and the baby taking a little morning nap, I labeled all of my bags then cut up all the chicken and sorted it into the appropriate places. At that time I also poured the BBQ sauce in with the lazy chicken recipes and threw those in the freezer. That was all I had time for.

I picked up from there at nap time. I cooked the ground beef for ravioli casserole and chopped the sausage for red beans and rice. I assembled those and threw them in the freezer. Then worked on the Pepperoncini Beef Sandwiches and BBQ Pulled Pork. Sliced off fat, added one or two ingredients to each of those, then put them in the freezer. (This part really moved quickly! I LOVE crockpot freezer meals!!)

From there I worked on some of the chicken meals, doing what I could before the baby woke up. I managed to get Honey Garlic Chicken and World's Best Chicken put together and in the freezer, leaving just 4 more recipes to throw together the next morning.

That is a busy mom's poorly planned variation of OAMC.

AND just to sweeten this post a little bit AND to celebrate Fall, I'd like to throw in a souper (haha - lame, I know, but I couldn't resist...) recipe!

Salsa, Chicken and Black Bean Soup

Now I hope you didn't just get disappointed. I tried this recipe on a whim. Normally I don't think it's something I'd be interested in... at all, but I knew my husband loved black bean soup from his teenage years working in a Mexican/Cuban restaurant, and the rest of the ingredients sounded pretty good, AND it looked way easy... so naturally, I decided to try it out. And it was delicious!

Salsa, Chicken and Black Bean Soup

Ingredients:
1 lb boneless/skinless chicken breast
1 cup dry black beans (or 2 15 oz cans, rinsed and drained)
4 cups chicken broth
1 cup frozen corn
1 16 oz jar prepared salsa
1 1/2 tsp cumin
1/2 cup sour cream
shredded cheese, avocado slices, etc...

To Prepare Today:
*If you are using dry black beans, you'll need to soak them overnight in enough water to cover them plus 2 more inches.
1. Drain and rinse the black beans and place them in the crockpot. Add chicken, chicken broth, salsa, corn and cumin. Stir ingredients without moving the beans - they need to stay where it's hottest. Cook on low 6-8 hours or on high 4-5 hours. If you want it to be thicker, use an immersible blender to mash up some of those beans (or be like me and just mash them with a spoon!).
2. Mix in sour cream before serving. Garnish with desired ingredients.

To Freeze:
*Use canned black beans, rinsed and drained.
1. Place first 7 ingredients in a gallon-sized freezer bag. Freeze.
2. Empty bag into crockpot. Cook on low 8 hours or on high 5 hours. Mash beans for a thicker broth. Stir in sour cream before serving. Garnish as desired!

Monday, October 8, 2012

Creamy Chicken and Broccoli

Ok, so in our cooking group all of us have our favorite OAMC meals, and while mine switches up every now and then, it is usually Creamy Chicken and Broccoli.


Cheesy and delicious... This dish seriously has "comfort food" written alllllll over it! 


This recipe was a fabulous Pinterest find that I just HAD to try! And when it turned out to be delicious... I decided to give it a go as a freezer meal. And it worked! You seriously wouldn't even know it was frozen.

In fact, I made it for a friend and her family this past week and they LOVED it! So much so that she even asked for the recipe (that's the real test - whether or not they ask for the recipe...). YES! Little did they know that that particular meal had been in my freezer for just about a month. Hooray for freezer meals!

With no more ado, here's this wonderful little recipe -

Creamy Chicken and Broccoli

3-4 boneless/skinless chicken breasts
10 3/4 oz. can cream of chicken soup
10 3/4 oz. can cheddar cheese soup
14 oz. can chicken broth
1/2 tsp. salt
1/4 tsp. Cajun seasoning (such as Tony Chachere's)
1/4 tsp. garlic salt
6 cups frozen broccoli (florets or cuts, it's up to you!)
1 cup sour cream
1 cup shredded cheddar cheese

For Today: 
1. place chicken breasts in the crockpot. Combine soups and broth and pour over chicken. Sprinkle with seasonings and cook on low 6 hours, or on high 3 hours.

2. With 30 minutes left in cooking time, use 2 forks to shred the chicken breasts. Stir in the broccoli and sour cream. Serve over steamed rice and sprinkle with cheese.

For the Freezer:
1. Place chicken breasts in gallon-size freezer bag. Pour in soups and broth. Sprinkle on seasonings. Measure 1 cup of shredded cheese into a quart-size freezer bag. Use duct tape, or some other means to hold the cheese and broccoli to the main bag. (see picture!)

2. Place frozen contents or main bag into crockpot. Cook on low 6-8 hours, high for 3-5 hours. With 30 minutes left, shred the chicken and add sour cream and broccoli. Serve over steamed rice and sprinkle with cheese.


Saturday, October 6, 2012

The Second P.

Prep Work.

This "P" always turns out to be more involved and more time consuming than I anticipate. This is where I REALLY get my cooking game plan all figured out.

At some point after getting home from shopping and putting all of the cold stuff away, I pull out my little list of recipes and write a different list. This time I'm going through and looking at which recipes call for cooked chicken, chicken pieces, full chicken breasts, cooked ground beef, sliced beef, raw beef, chopped veggies, you get the idea... Basically, making a list of everything that needs to be done before I can start assembling the meals.

Cooked chicken is usually where I start. I throw as much of it as possible into the crockpot and let it do it's thing on high for 4 hours. [You can boil yours if you prefer, I just love my crockpot, as I'm pretty sure I've mentioned before... ;)] Then I shred it, put it in some sort of container, throw a sticky label on it, letting me know which recipe it's intended for, and put it in the fridge. Then, if needed, I'll get another batch of chicken going.

After throwing the initial batch of chicken in, I'll print out my handy dandy labels and slap on the ones that will be used with recipes that are stored in freezer bags. The labels that are for casseroles, or other recipes that are prepared in foil pans won't go on until after the fact.


Since I'm working with the chicken already, I'll work on slicing off the fat, cutting it up for various recipes and portioning it out, putting the right amounts in their various bags. Sometimes this prep work only requires cutting the fat off of a chicken breast and putting it in its appropriate bag, sometimes I have to do a bit more cutting, depending on the recipe, but it's not too bad.

All of the chicken recipes, after cutting it up and portioning into the appropriate bags
*Note: This was for a cook that I was doing just for my own family. I didn't use labels this time, so disregard the sloppy handwriting
I usually cut the BBQ chicken into similar portion-sized pieces so they'll all cook at about the same rate.
This is an example of a recipe where I simply cut off the fat and set the chicken into it's bag.


*I almost always have a little bit of chicken left over. I buy the 5-6 lb packages that you find at Sam's or Wal Mart and I tend to overestimate - better safe than sorry, right? Anyway, when I do have leftovers, I portion it out into 1 lb increments, dice it up and wrap it in tinfoil. I write "Chicken" and the date on it and put it in the freezer... and voila! Pair that with a box of Velveeta Cheesy Skillets (or chicken helper, or a stir fry, etc...) and you've got another freezer meal! Yes!!

Once the chicken is done, I'll clean up and move on to the next meat. I'll cook what needs to be cooked and then label it and put it in the fridge to use when I'm ready to assemble the rest of the meal. 

For the meats that don't need to be cooked, I'll slice off fat, cut it up as the recipes call for, and place them in their bags, just as I did with the chicken.

Once all the meats are done I move on to vegetables. Usually this doesn't take too long. I tend to buy the frozen, chopped veggies to save myself time. Who really wants to bawl their eyes out cutting up onions? Not me... so I buy LOTS of frozen, chopped onions. The bags cost $1 at Kroger and I think that's totally a worthwhile investment. I also buy frozen, chopped celery if I can, and sliced peppers and onions for crockpot fajitas, etc...

Occasionally I'll have potatoes to cut up, but I try to keep them to a minimum - potatoes don't freeze particularly well. FYI

Once all of that is done, if you still have any energy left, you may want to organize your plethora of ingredients into little piles based on the recipe you'll be using them for. This isn't really necessary, but if you can't handle the huge pile of dry goods hanging out in your kitchen, it may ease your mind to have some sense of order. :)

And one final note - if you are cooking as a group, you'll probably want to divide recipes evenly and have things set up in little stations for each group member. That tends to make things run a bit more smoothly, with less confusion and people bumping into each other as you put everything together.

OK.... So, this P was pretty involved, but basically you're:

1. Cutting, cooking and portioning out the meats as needed for recipes.

2. Applying labels and organizing freezer bags and meats for quick use the next day.

3. Cutting up vegetables, if needed.

4. Organizing the various other ingredients as needed.


[Doesn't sound too complicated when you look at it like that, eh? ;)]